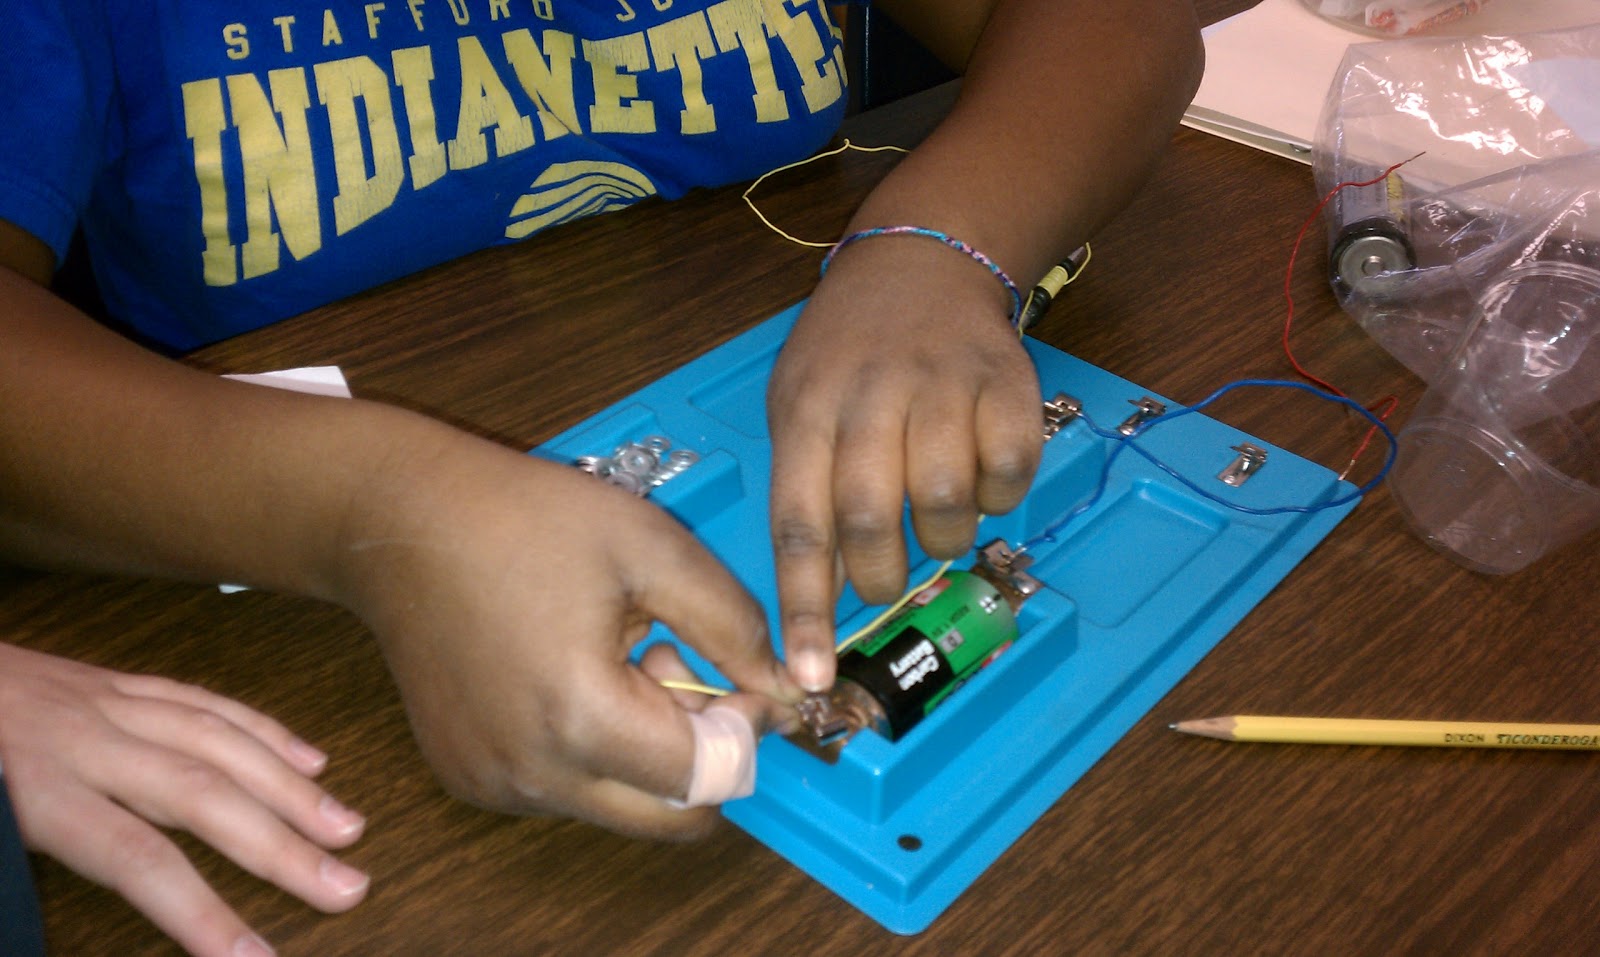
Now we wanted to see if the students could apply these concepts to an engineering project. How about designing and creating a house?
In order to set it up, my colleague Elena and I set about to create a Design Brief. If you don't know much about design briefs, I recommend you check out Ginger Whiting's book Children's Engineering.
Basically, the design brief consists of five parts:
- Background Statement (puts the task in context)
- Challenge statement (what's the task?)
- Criteria (specific details about the finish designed product)
- Materials (things that can be part of the finished design)
- Tools (items that you can use to help you build)
We thought long and hard about what we wanted our kids to be able to do. We wanted them to create 2-3 rooms to include 3-5 lights and one fan. They could use the materials we had been using such as wires, dcells, light bulbs, motors and more. We also have LittleBits and Squishy Circuits in our Engineering lab and so we allowed the students to use these as well. Tools they could use included wire strippers, scissors, duct tape, glue guns and even a drill.
 Once our criteria was in place, we then added the design portfolio. The design portfolio is a place for students to record their thinking, plans, reflections and redesign as they build. This portfolio is based on the engineering design process loop. This process can be found to use in multiple formats including this one by Ginger Whiting. In the design portfolio we created a place to restate the problem, brainstorm planning ideas, create a solution, test your design and evaluate it.
Here are some pictures of the building phase. First they built the walls for the rooms.
Next we added the electrical components. The kids love to use the drill (with an adult nearby of course!) to drill perfect circles in the ceilings of the homes. The students were able to use wires, light bulb holders, dcells, Christmas lights, motors for fans, and more! The video clip shows the squishy circuits and the little bits.
 Here is one of the final products. See the bed in the bedroom, the coffee table and flat screen TV in the living room? These students took the design element and ran with it! Not all were as detailed inside...many just focussed on the wiring and bare bones of the house. That was okay too! Students were able to present their finished projects to their peers and I have included a rubric for assessments as well. If you want to pick up this design brief and portfolio along with the procedures for creating it then visit my TPT store here for a quick link.
 Comment:


