Speaking of visual learners....let me share with you an exciting project we have been working on at my school. Slowly but surely we are becoming an Arts Integration school in partnership with the Kennedy Center in Washington D.C. (CETA). Recently, the fourth grade team participated in a unit involving weather and the arts (adapted from an ArtsEdge lesson found here).
We started with a power point: of paintings that we found online and in the Arts Edge lesson. Gather the students around a window in the classroom and look outside to observe the weather. Ask the students the following questions:

Creating Stage:

Comment:
We started with a power point: of paintings that we found online and in the Arts Edge lesson. Gather the students around a window in the classroom and look outside to observe the weather. Ask the students the following questions:
- What is the weather like today?
- What is the current season? How you describe the palette of colors associated with this season?
- What objects or changes in the environment (the sky, trees, ground or sidewalks, clothing, etc.) provide clues about weather and/or the season?
- What is your favorite kind of weather and why?
After students have responded to these questions, have them look at the paintings in the ENGAGE tab of the resource carousel. As students look at the paintings online, ask them:
- How is light expressed in the painting?
- What kind of feeling or mood does the painting generate?
- How are the colors used to convey light or darkness?
BUILD KNOWLEDGE
Distribute Elements of Art handout. Discuss the elements of color, shape, and texture with students. Look again at the paintings in the resource carousel; review and analyze the pictures with students, while discussing the use of color, shape, and texture to portray a particular weather condition.
Have students select, analyze, and discuss their favorite paintings. Have each student choose a favorite painting, and break the students into groups according to their favorite paintings. Students can print out the paintings directly from the online interactive, or you may wish to bring into class prints of these paintings. Within the groups, students should share their thoughts and feelings about why they liked the pictures, discussing the elements of art such as color, shape, and texture. Students should use the Elements of Art handout as a reference point during their discussion. Have them present their responses as a group in front of the class.
On the next day, we post a painting and ask the kids to list words that describe color, texture, light on a class chart
- Start by reading Look! Seeing the Light in Art by Gillian Wolfe - page 27
- thick strokes give the surface a rich and craggy feel
- why did Van Gogh use thick, textured paint? (active feeling)
- Smooth texture is less active and calming
- What are some other ways artists make texture?
- What are some ways that artists create texture?
- They brush paint on in watery strokes and thick drips.
- They put paint down in short, fat dabs and long, sleek strokes.
- They twirl their brushes to make circles and curls.
- They apply paint in thick layers that stick out from the canvas.
- They put different colors on top of each other.
- They mix in sand, dirt, or other materials into the paint.
- They add white highlights to make things look shiny.
- They scratch through paint to show colors underneath.
- Next read about Cold and Hot light - page 12-13

- Warm colors vs. Cool colors
- Warm colors—reds, yellows, oranges, and red-violets—are those of fire and the sun. They appear to project. Cool colors—blues, blue-greens, and blue-violets—are those of ice and the ocean. They appear to recede.
- What are some types of light you may see in a painting?
- dappled
- moonlight
- reflected light
- night lights
- Show Starry, Starry Night
- What can we tell about the texture? colors? and type of light?
- You can see the chart the kids came up with based on the painting.
On the third day, we introduced our design brief for our next STEAM project. This project was developed in several steps.
Planning stage:
Ask and imagine - what am I trying to show in my painting? Weather conditions and feelings
- What feelings do the colors you want to use make you think of?
- Brainstorm and design a sketch of what your painting will look like.
Creating Stage:
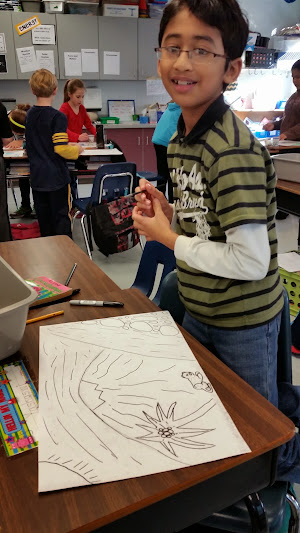
Demonstrate the technique of drawing a weather/landscape scene using salt and watercolors.
1. Start by drawing your picture with pencils.
2. Trace all the lines with a black permanent marker.
3. Add detail lines with different colors of crayons.
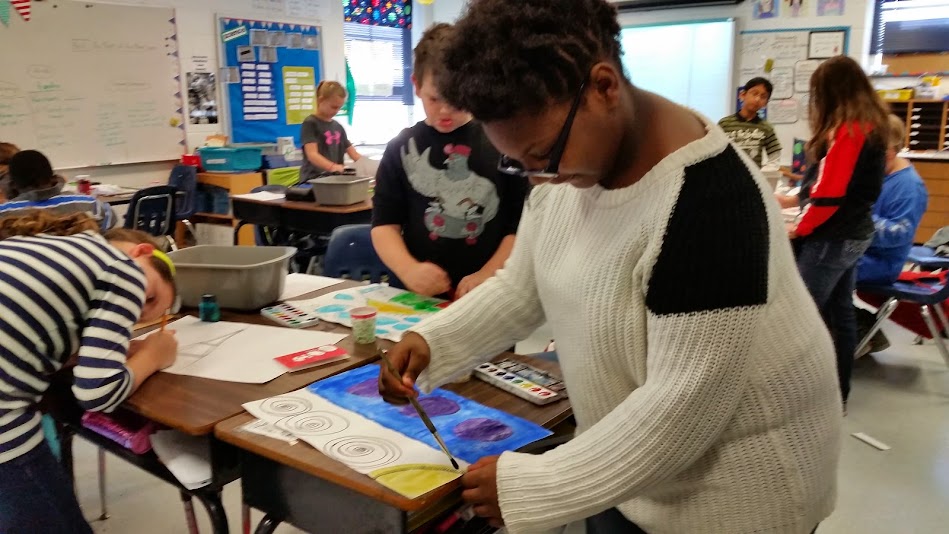
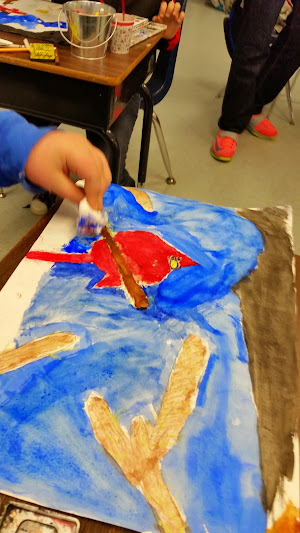
4. Paint with watercolors. I like the liquid variety, but any kind will look nice.
5. Sprinkle salt over the wet painting to create texture.
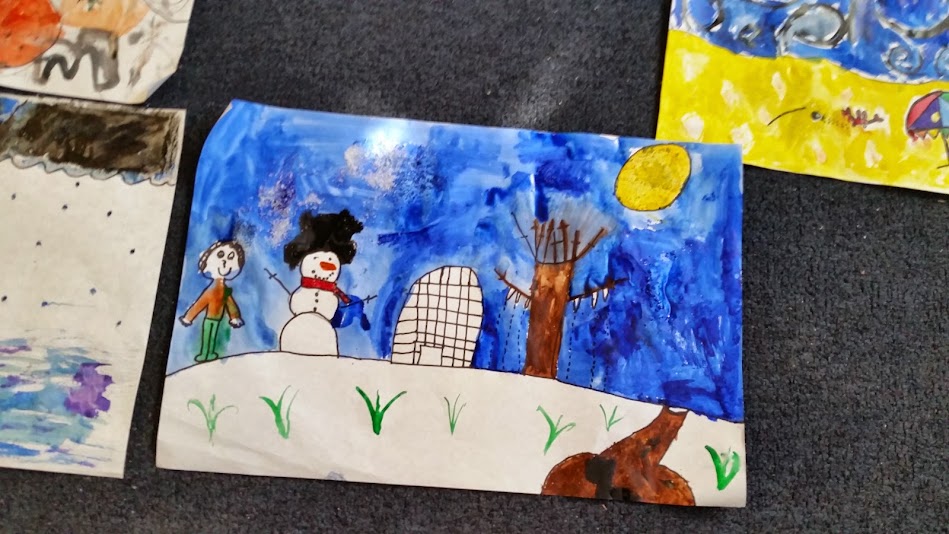
Have students complete their own paintings. After viewing all of the weather conditions depicted in the pictures, including the geographical component, distribute to the students watercolor paints, brushes, cups with water, salt, and white paper. Ask students to complete one of the following assignments:
- Paint an image of your favorite day based on the weather conditions on the season.
- Paint a weather/landscape scene of a particular day based on your personal experience.
Remind students that they should express their own unique style as they create their watercolor paintings. They should choose colors carefully to represent the scene associated with the particular day and weather condition they are painting. The objective is to represent the weather in the scene, as well as the way that the elements in the painting are being affected by the weather.
Tell students that the colors they choose may determine the mood of the painting. Give students ample time to complete their paintings.
If you do not have a drying rack for the paintings, be sure to have cleared off plenty of room for student work to dry.
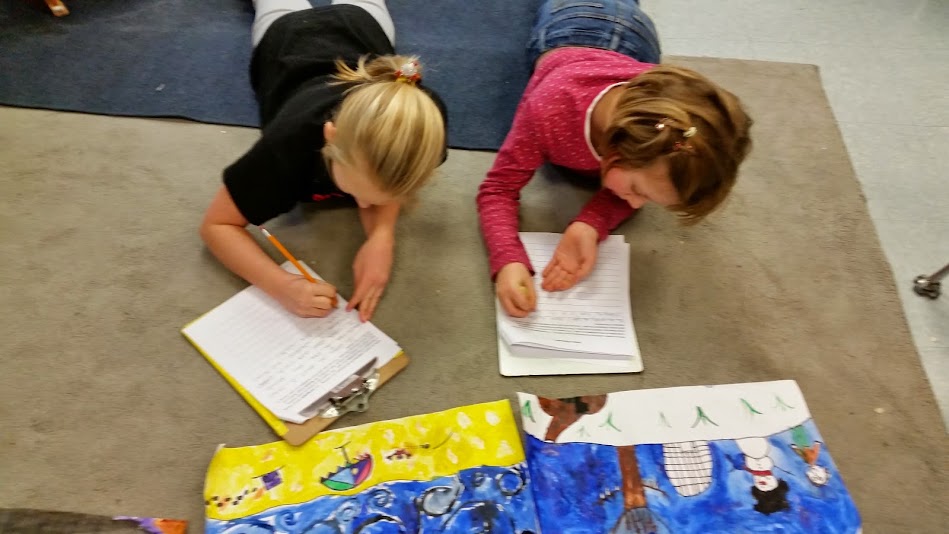
The next step in our process is the writing piece. The students were asked to create a writers statement to explain the art features and emotions that the weather painting evoked. They were given a scaffolded example to help them organize their thinking as well as a blank sheet option.
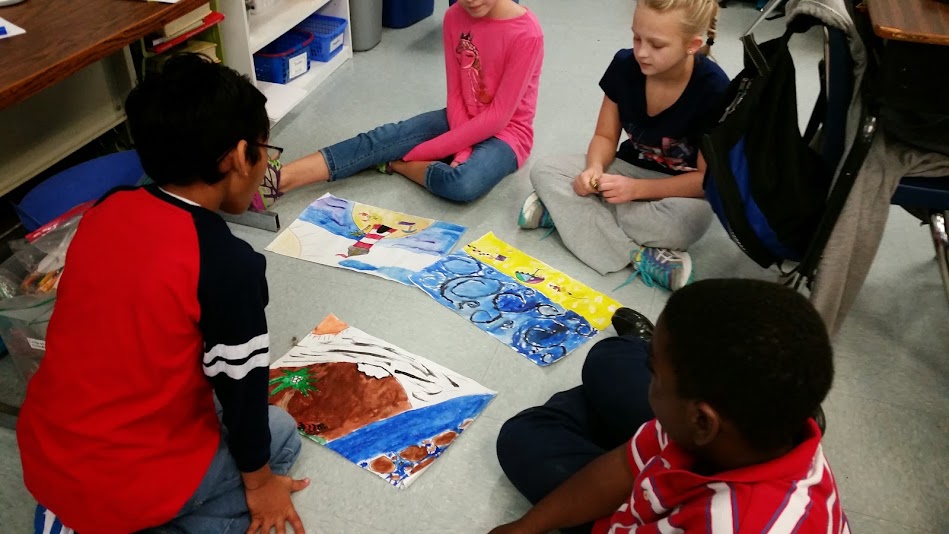
Finally they had the reflection piece. Students were put into groups where they shared their artist statements and had several classmates make comments or questions in response. They recorded these on the design brief.
This was an extremely rewarding integrated experience for all of our children. The connections they made to the real world, the art world and science were amazing! I highly encourage you to find time to incorporate this STEAM lesson into your classroom experience.


