Pages

Showing posts with label electricity. Show all posts

Tuesday, February 12, 2013

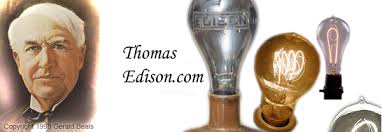
Thomas Edison

We are working on the FOSS unit Magnetism and Electricity - another one of my favorite units! So far we have explored what is attracted to magnets using plastic bags full of materials.  Many of the materials are duplicates, only one is made of iron or steel and the other of another non-magnetic substance. 
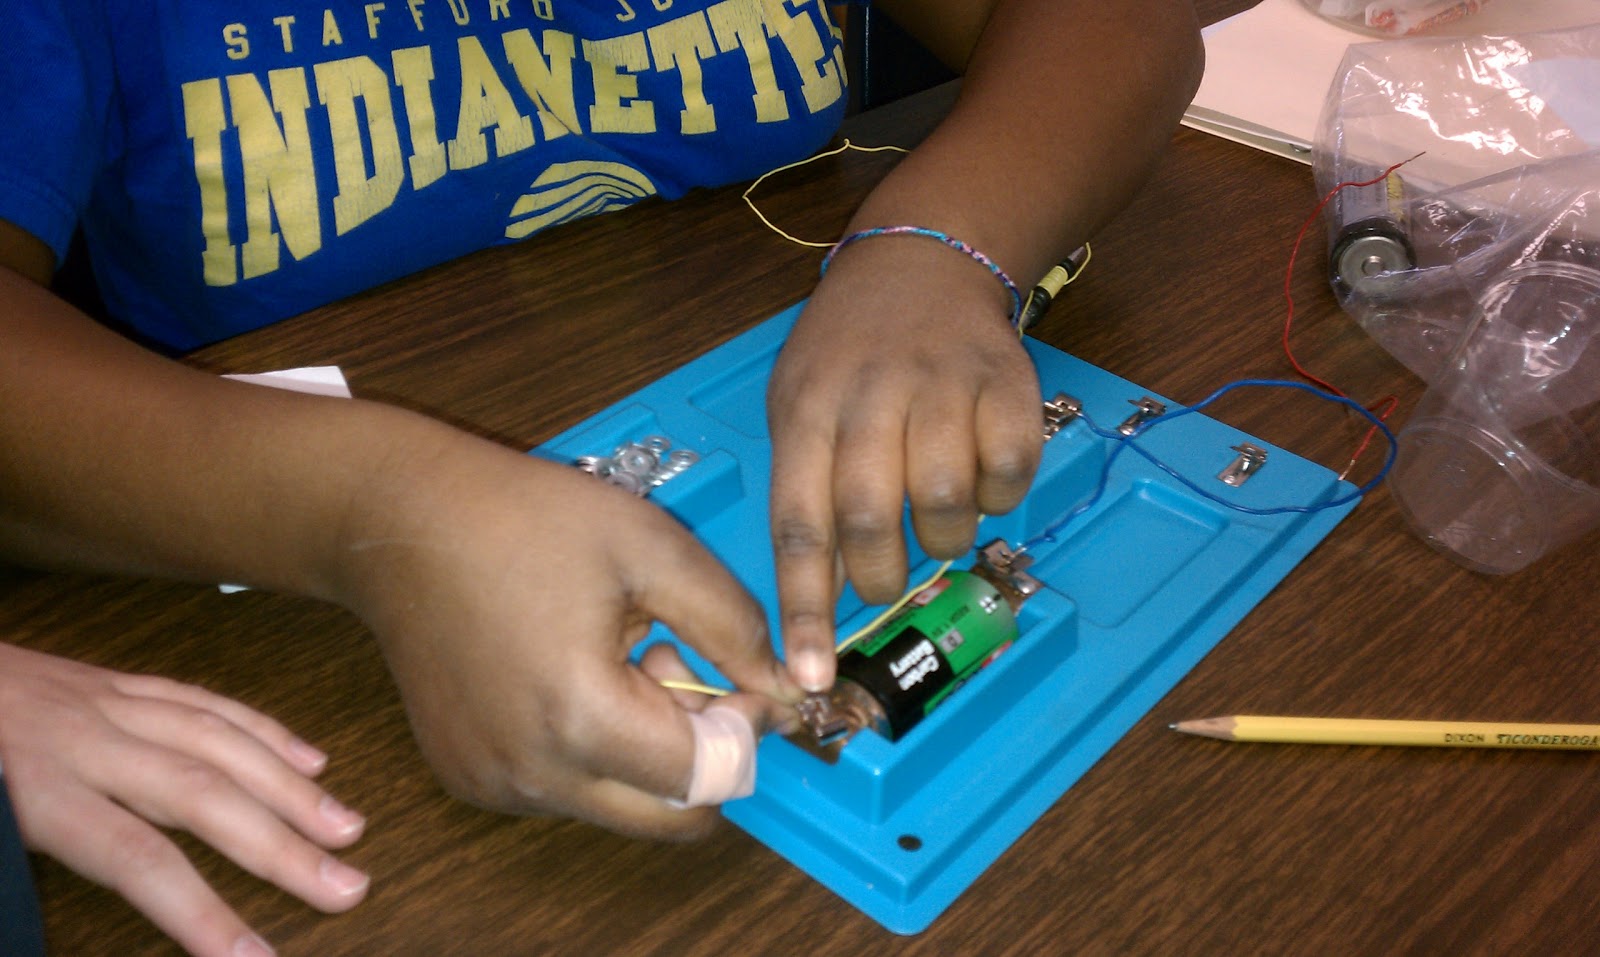
We have begun exploring how to create a circuit using D-cells and light bulbs.  Students are learning new vocabulary such as energy source and energy receiver, circuits and filament. As part of this lesson we are introduced to Thomas Edison. 

Lewis Latimer
Did you know that Thomas Edison did NOT invent the light bulb? He was an engineer - he found an existing problem and using through trial and error worked to find a better way. It was not until he met Lewis Latimer, an African American inventor that the modern  light bulb was improved to last more than a few days.  Thomas Latimer had created a filament that would not burn out quickly. Together they figured out a way to vacuum out the air, so that there would be no oxygen in the glass bulb for the filament to catch on fire.


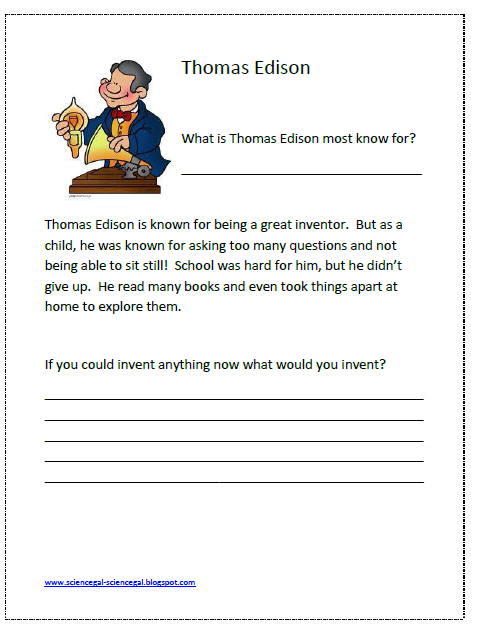
Anyway....I have created a worksheet to use as a follow up to introducing Thomas Edison.  I tried to include a passage about his childhood love of asking questions as a spark or connection for our kids.  Then we ask them to imagine what they would invent if they could.  

Grab it free here!


Comment:

Monday, March 5, 2012

Static Electricity....

Do you teach static electricity?  The kids love it and can truly relate to it.   I found some great youtube videos to share....

                   This one shows rice krispies in a glass container. When the person rubs wool on top, the rice krispies jump up to the top due to the electric charge.
I like it because it shows the attraction the particle have...it is easy to relate it to when you have static in your pants or when your hair stands up.  You can do an experiment in your classroom with balloons and paper scraps ( I like to use the circles from hole punches) to show the attraction at a station. 

This short video clip shows how lightening is really a giant static shock.  The kids can relate to this clip because we have all seen lightening and we all see or feel sparks at time when the air is dry!

Saturday, March 3, 2012

Connecting Art and Science

I was asked to preview a new product from Delta education that integrates science and art.  It is called WeExplore! art kits.  The kit came with enough materials for twenty four students to create door knob holders to remind family members to turn off the lights and conserve electricity.   The whole kit includes a CD with activities linked to the Delta Science Readers Electricity and Magnetism.
These books are a great resource because the have the same text in a purple and red edition.  One set is on grade level and the other is below grade level.  The students get the same information, just geared to their reading level!


The project:

We started by brainstorming what types of sayings we could include on our door signs. Katie came up with 'Save the E' which I loved...very catchy. I  then passed out the new markers, sticker sheets and stencils and the doorknob signs and let the students go to town.  The examples made match each students personality and expression.

Take a look!


Nice art activity that tied into our curriculum as well. 

Tuesday, February 28, 2012

Michael Faraday

We teach about the contributions of many famous scientists in Virginia.  The third scientist who makes contributions in electricity is Michael Faraday. We used the book from FOSS Science Stories to introduce his contribution of creating the electromagnet.

He, like so many of our great scientists, was one who did not have a good experience in school.  This story tells how he struggled the first 13 years of his life, until he consciously made the decision to change.  What did he do?  He studied successful people and decided to act the way they did.  Guess what?  He became successful too!

After we read and discuss his life and contributions, we reflect with the  sheet below....


                                Grab your freebie here!


Enjoy! 

Monday, February 27, 2012

Writing up an Investigation

Yesterday I talked about how we practiced writing up an investigation.  Today I am going to tell you how we did it for "real."
I started by telling the children that today's work was something I was going to count for a grade.  I explained to them that we have been working on guided investigations for a while and now was the time for them to create their own investigation. 
I posted the rules on the whiteboard:

You will need to have
1. a question to test
2.  a prediction
3. a plan
4. some written data
5. a conclusion such as "Today I learned...."


       I told the students that they would be working in their science groups on this task.  Each child would be expected to work together, but each notebook would be graded individually.  They are pretty familiar with the Science Notebook Rubric that I have and so they were well aware of my expectations. Before we started I helped them brainstorm some ideas to test with their electromagnets - changing the way we wind the coil or what item we pick up.  Then they set to work.  
It was the quietest hour of my life!  No one was asking me for help, they all knew what to do and worked without arguing.

  (On an aside note, I did have one special ed student build circuits virtually on the bbc websites because he has social issues with cooperating. Each lesson had a quiz at the end and I could still check his progress...win/win!)

Here are some of the results.  This is an entry from Robert.  He has some spelling errors, but the science is right on track.
He even included this amazing diagram on the next page.


Another example from another group that was twisting the wires in two directions.
I love the diagram that shows it does not work! I have multiple examples that I don't have room to share... I hope this will inspire you too to trust in your kids to create their own investigations.


Sunday, February 26, 2012

Do you practice how to write up an investigation?

Practice...

I just finished watching my son play in a championship basketball game for his U9 team at the YMCA.  As I watched, I thought we never could have gotten here without the specific and targeted practices each week.  The coach watched each player and would have them practice what they needed.  Some may practice free throws, some layups, and some defense.  But put it all together, and we won many basketball games.  Not bad for a child who had never played before!

Now, why am I telling you this? So often I think we expect kids to perform to high expectations without the practice it takes to get there. 

In my classroom we have been working on building electromagnets and we were ready to move to the next step - designing your own investigation.  I wanted them to be able to think of the question, make a prediction, record their data and write a conclusion on their own.  But before we could do this, we needed to practice. 

I set up the practice session by telling them I wanted them to test how many washers it would take with a set number of winds of coil.  Each group needed to pick a number to test and write it as a question.  Next, we talked about how to write your prediction.  Then, we practiced writing a plan with a format that looked like this: Step one, Step two... I showed them how to record data and finally a conclusion step.


Here is an example of how one of my students wrote up his practice plan in his science notebook.


If you are interested in grabbing the format for the plan, you can click here for a freebie... You can run this off for students who need the structure, of you can use it yourself to help you plan how to format a science notebook page.  Check back in tomorrow to see how they did with their small group investigations ... on their own!

Tuesday, February 21, 2012

Famous Scientists - Ben Franklin

How do you teach about Famous Scientists?  In Virginia we are asked to teach the students about the contributions of Ben Franklin, Thomas Edison and Michael Faraday as it relates to electricity.


I will start today with Ben Franklin...he is my favorite afterall!

Resources to hook the students:

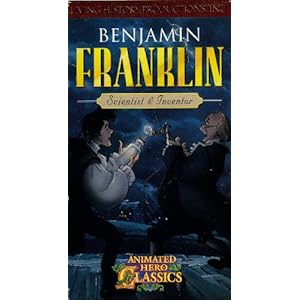
Favorite Video:  Animated History - story of Benjamin Franklin


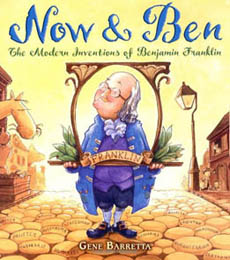
Favorite Books:  I love to connect children's literature to my science lessons.  Now and Ben is all about how the inventions of Ben Franklin have been modernized and are used today.

Some of my other favorites include the National Geographic version (full of beautiful illustrations), the Step into Reading one (is really about a math puzzle he created) and Ben and Me is just a sweet novel told from his pet mouse's point of view.


So besides these hooks that I use at other times in my day...what do I do? Our standards require that we teach students that Ben Franklin made a major contribution to science by creating the lightening rod.  Did you know that lightening is really static electricity?  So in keeping with my philosophy using inquiry as a basis for my lesson....we use this worksheet to fill in the main points for both his role in the Revolutionary War and in Science. 

You are welcome to grab this freebie! I am still working on how to insert a picture and link it to the docucment page.  Until I figure it out, here's the link at the bottom.


Monday, February 13, 2012

What's been going on in my classroom?

FOSS Magnetism and Electricity Kit

We have had a blast finding insulators and conductors, lighting light bulbs and powering motors through circuits, and lately learning the difference between parallel and series circuits.  Take peak into my classroom to see the many kinesthetic and visual components provided by FOSS...


 We have made electromagnets using the wonderful circuit board provided by FOSS.  Our challenge was to see how many washers we could pick up with the electromagnet.  We found that the more winds we used the more strength it had.  We also found out that if we used two batteries, we were able to pick up even more!
         This is part of a PowerPoint I made to help focus our thinking and show some examples to create the best electromagnet.  I also supplemented the power point with a video of electromagnets that I found on United Streaming.  This visual element helped them understand the process a little better.


 We determined that distance between magnets made the attraction weaker. We were able to measure the amount of force needed by counting how many washers we used.  Then we plotted the data on a line graph and were able to see a nice decreasing trend.


Here is the T chart of spacers vs. washers that we recorded in our science notebooks.  We recorded that data as we were doing the test so that we could have the data for later and notice the trend.

We have spent a lot of time building series and parallel circuits to light light bulbs as well as mini motors.  We have learned that light bulbs light up brighter on the parallel circuit than the series circuit.


We sorted conductors and insulators using the same bag of materials that we had used to determine magnetism.  We learned that there were some similarities - none of the conductors were magnetic.  We tested them and then made posters to show what we had discovered. 

Sunday, January 29, 2012

Magnetism and Electricity...what's the relationship?

Have you ever stopped to think...what's the relationship between magnetism and electricity?  Why do we teach them together after all?  My little brain has a hard time making connections to higher level science, but this one I get! 

We are currently working on Magnetism and Electricity using the FOSS kit by the same name.  This is my third year teaching it with students (as well as many sessions with adults) and it always blows my mind how Dr. Lowery connects the concepts in such a concrete way. 

On an aside note, I have met Dr. Lowery several times with my journeys with FOSS and I absolutely love the man.  Here we are at the Hotel Roanoke together...bad picture, but still one I treasure....  That's me on the right with my science BFF's Rita behind me and Sherrie on the left. 

Anyway...back to school...I had always played around with magnets when I taught K-2 and knew that this was an important science concept. But I thought it stopped there.  NOW I  know better.  In the beginning of our unit the kids spend a lot of time identifying objects that are made of steel or iron that are attracted to magnets. They are also the same objects that are good for conducting electricity.  This week learned how to create temporary or induced magnetism by chaining objects together.  This will come back again when we learn to create an electromagnet.  Without electromagnetism we would not have so many of our modern inventions - including the TV, Computer, etc...


Now, remember how I've talked so much about MISUNDERSTANDINGS?  We had a big one today - one group showed me this chain:
    They were so proud of their thinking until I pointed out that it was hooked to the desk an iron object and therefore the magnetism wasn't so much chaining but just attaching.    When they took it off the desk and tried to recreate it, it naturally fell apart. 

Lesson learned!