Pages

Sunday, November 11, 2012

Art and Science...hmmmm

Photo: Another vast weekend of fun! Loved hearing dr. Ken wessen teach us about brain connections with art and science!
I have just returned from our State Science Conference where I spent some time thinking and contemplating many things....

First I was able to hear a keynote speaker, Dr. Kenneth Wesson, speak about creativity. He said many things that stuck in my mind...like the fact that multitasking and stress is going to kill us!!!  More importantly he spoke about the connections between art and science.

Did you know that every major scientist has a connection to some type of art - whether it be playing a musical instrument, painting, drawing, even dance or acting??? 

It's a brain connection! 

You may have heard this recently...we are leaving the information age and entering the innovative age. Creativity is back in style!  He said that one of the biggest problems in our society and classrooms is that kids don't play anymore. And...either do adults by the way! If you have been teaching as long as I have you may remember the term purposeful play...guess what? That's back in style!!!

Dr. Wesson told us that the best way to make connections in the brain and retain information is through drawing and creating....which was validating to those of us who encourage the art of drawing in our classrooms.

How can we do this?  Diagrams, representations in our journals, posters, dioramas, etc...

"If I can't picture it, I can't understand....."


Here is how I took notes in my grad school classes....there is a lot to be said for that idea of drawing to help you remember and understand.


I have many other thoughts running through my mind, but this was the most important one that I felt I needed to share. 

Much more to come this week!


Comment:

Saturday, November 3, 2012

STEAM math/science night

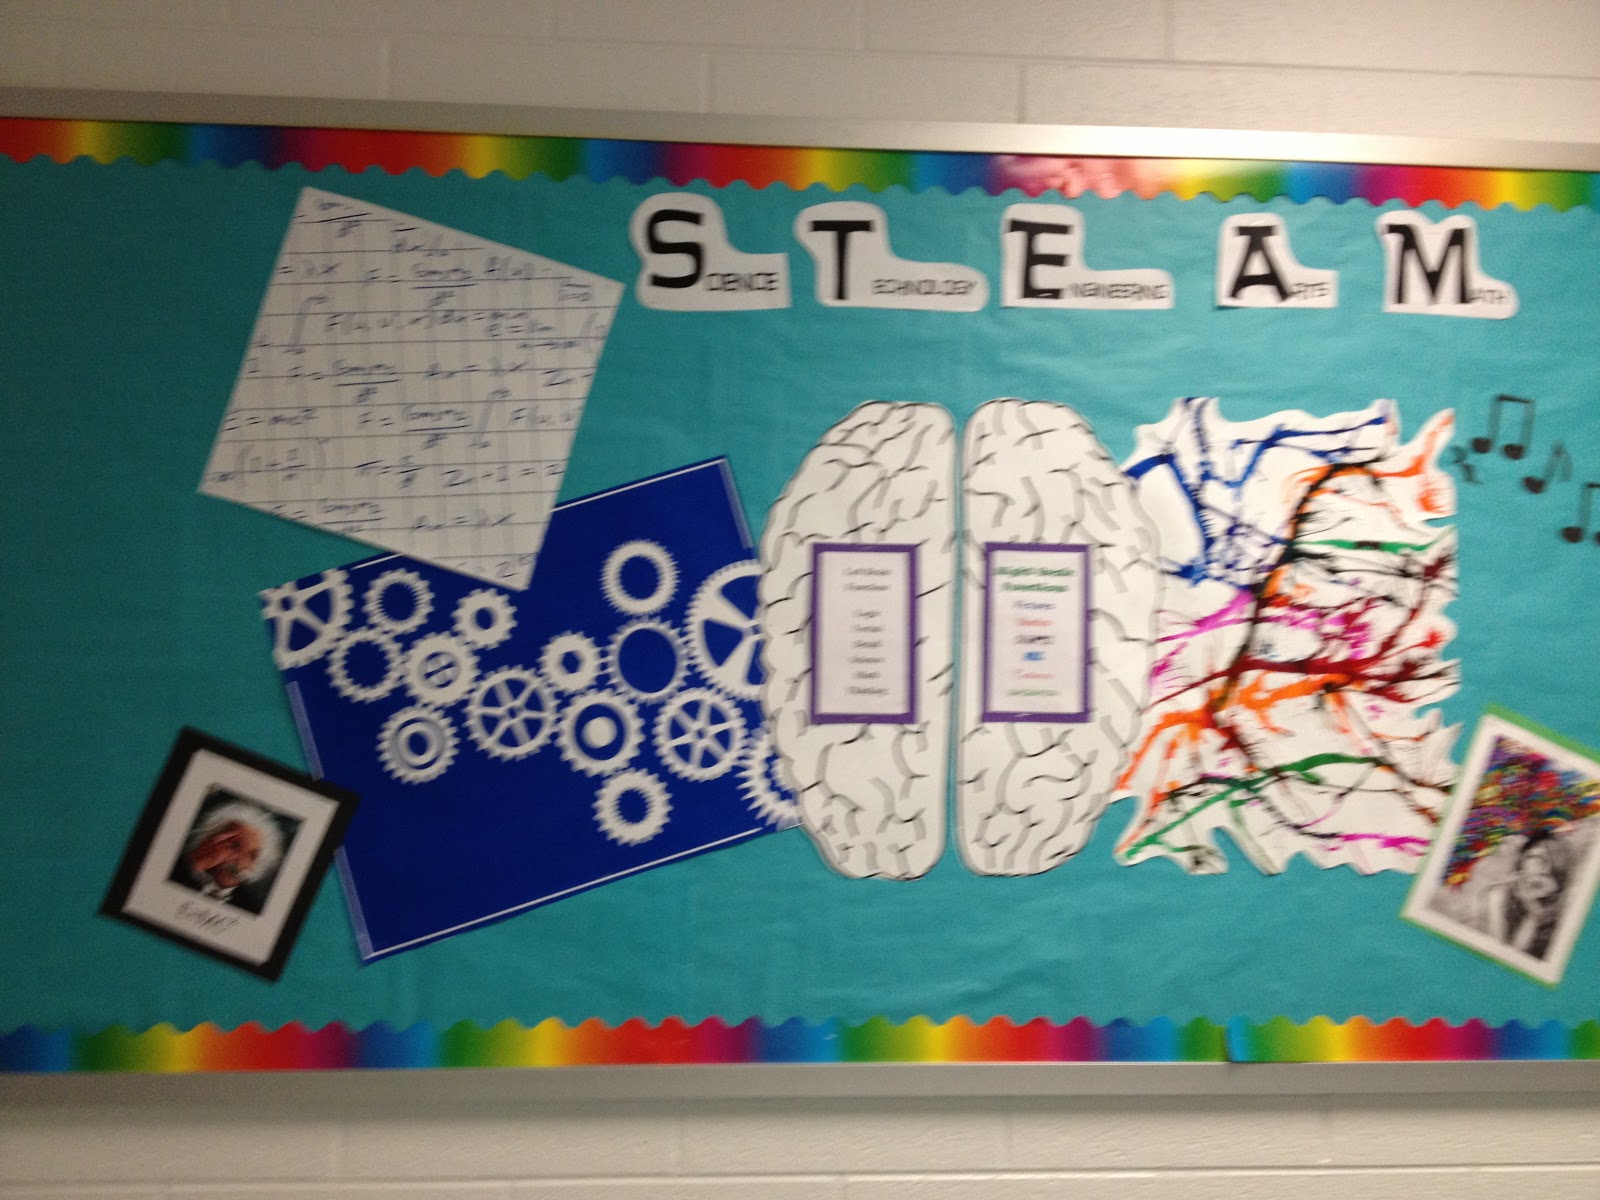
Have you heard about STEAM? Science Technology Engineering Art and Math... Our school is very excited to implement this idea in our classrooms and so we kicked off our year with a STEAM evening for parents and students alike.

First - check out the bullentin board created by my amazing Art and Music teachers at our school.


Students were thrilled to build, build, build...


Future Engineers at play!


Comment:

Thursday, November 1, 2012

Show what you know!

Recently we had a chance to "show what we know" about the solar system. It is so important in 4th and 5th grade to give kids the opportunity to choose ways to show what they know. The more often they can show content in a manner that fits their learning style, the more often it will "stick" in their memory.

So here are some choices we gave our students:

1. Create a poster of the Solar System showing the planets in the correct order from the sun
2. Create a song or rap to show what you have learned about the Solar System.
3. Make a model of the planets using playdough. 
4. Pick one planet to do a research project on (worksheet)
5. Go on a Scavenger Hunt around the classroom to answer questions about the solar system.

Some of the activities I created with my colleague and some of them I got from Super Teacher Worksheets.   Do you know that site?  It is amazing! It has a lot of great activities and even smart board resources, too!

Here are some of my students work:


She is doing the Scavenger Hunt!


Comment:

Tuesday, October 30, 2012

STEM fun on Planet Oobleck

Have you ever heard of the planet Oobleck?  This is one of my favorite lessons from Seeds of Science Planets and Moon unit.

Here is the basic premise - a new planet has been discovered with similar temperature, atmosphere and gravity to the Earth but with a different surface feature.  A satellite has gathered a sample to return to Earth for us to study.  We need to determine what would be the best type of material to use as a lander - cork, plastic cups, spoons, paper clips, Popsicle sticks or straws.

 
Some materials sank and some were able to stay on top without tipping over. After testing each material, we wrote our data down to remember which ones worked the best.  
 
 
After a day of exploring materials we designed a lander that would be able to land on the planet oobleck in our science journals.
 
The next day, I showed up with a ton of materials - plastic cups, tape, straws, paper clips, etc...and we built our own 3-D landers.

 
And no good design experiment would be complete without testing it in the Oobleck as well...


It was lots of fun...and engaging for all students as we explored a "real world" 21st century problem!


Wednesday, October 24, 2012

Chocoalate...Sink and Float

What's better than chocolate?  not much!

Here's another experiment brought to you by Candy Experiments. 

Most candy sinks in water, because sugar is denser than water. 
But some candy floats. Why?

This experiment is so easy...all you need is some leftover chocolate candy and water.  Drop the candy in the clear glass and observe what happens. 


Here's what Loralee at Candy experiments says is happening:

"Some kinds of candy, such as Kit Kats, 3 Musketeers, and marshmallows have air trapped inside. This makes them float.  "

I have created another recording sheet to go along with this experiment!  Hope you can use it!


Saturday, October 20, 2012

M&M and Skittles...experiment

Candy Experiments


Last fall I stumbled across a great website devoted to Candy Experiments.  This website has the motherload of great experiments using candy.  Many of them have links to a YouTube video that shows how to do it, too.  I have emailed the webmaster and asked permission to use their experiments and create some follow up sheets for the classroom.  I can't wait to use them in my classroom!

What happens when you put Skittles or M&M's in water? Do they float or sink??  This one is a very easy and inexpensive one.  Have students bring in left over Halloween Candy or buy it on sale. 

All you need to do is drop the candy in the water and watch what happens....

The white letters on M&Ms and Skittles are printed with edible ink that doesn't dissolve in water. When the rest of the candy shell dissolves, the letters peel off and float. Some of the letters break into pieces, but a few should survive intact.

It's pretty cool to see the floating letters in the water.  I recommend this for older kids  because they need to be patient to see the actual letters...and close observation too.


To grab your FREE follow up worksheet click here!


Sunday, October 14, 2012

Acid Candy Test...repost and updated!

With Halloween right around the corner, I thought NOW would be a great time to blog about some Candy Science activities.  Here is the famous ACID CANDY TEST...


I orginially found this activity on the web and modified it to meet the needs of a classroom of 4th graders.

To do this test, you need clear cups, wonka candy, water and baking soda. You will put the candy in the water and then add a tsp of baking soda. If there is citric acid in the candy, it will bubble. Fun huh?

I bought a huge pack of Wonka candy.... with Nerds, BottleCaps, Sweet Tarts and Laffy Taffy in it. We were able to see a reaction with all of the candy types except for the banana flavored Laffy Taffy. I wonder if it wasn't sour enough?


The reason for the reaction? Sour candy is made with citric acid from fruits like lime/lemons. When you mix the candy diluted in water with baking soda, it emits a gas. It only emits the gas if it encounters an acid.

We made a lot of observations - we noticed that a lot of the food coloring from the candy was diluted in the water. We noticed that the baking soda sunk and made clumps on the candy. We noticed many bubbles. Nerds made the most bubbles.

Here is how I set up the materials. I put the baking soda in the bowl with three spoons. I had a measuring cup with water in it and clear glasses. I also put the collection of candy on the tray. For listening purposes, we stated the directions one at a time:
1. Get a clear cup
2. Pick your candy
3. Pour the water in (you may want an adult to do this)
4. Put in a spoonful of baking soda.
5. Watch and Observe


After it was completed, we graphed our results according to the candies chosen. In this rotation, all the candies had a reaction.

For the Updated Blog I have added a printable that you can use in your classroom...


Click here to get your FREE printable...


Hope you will enjoy it too!